Monday 27 August 2012

How TO make Homemade Halloumi

Bliss - utter bliss!  I've conquered halloumi... finally!  Over the weekend, I gave halloumi yet another attempt - my fifth.  While a few other attempts looked pretty good and tasted nice - I wasn't going to call it success until I had the texture right - that well-known, squeaks in the mouth, stays solid on the grill, rubbery goodness that is halloumi.  Thankfully, this time I nailed it - phew.

What made the difference this time? - THE MILK!!!!  Previously, I'd been working with organic semi-skim milk + some double cream - but the milk I was using was homogenised.  This time, I bought pasteurised but unhomogenised milk, Jersey Gold Top.  I'll likely order some unpasteurised milk in coming weeks - but the best you can find in supermarkets is pasteurised/unhomogenised... still a major step up from homogenised milk.

So here's what worked for me:

Ingredients (easy enough to double it - I start small when it's a first-try.. or fifth):
1 litre Milk (unhomogenised)
8 drops or 1/8 tspn Rennet (I used generic liquid animal rennet)
Bottled water or boiled/cooled water (non-chlorinated water)
Salt (flake if you have it)
and Tenacity (in my case)
Supplies (all thoroughly clean):
Saucepan
Dairy thermometer
Strainer
Bowl for under strainer
Cheese cloth or butter muslin

Slowly heat milk to 90F (32C).  (Should take around 20 minutes.)
Dilute rennet (combine with 1/4 cup non-chlorinated water) and add to milk.
With slotted spoon, mix milk and rennet together with an up-and-down motion for 1 minute to make sure it's fully distributed.
Cover and maintain the 90F (32C) for the next 30-45 minutes... I covered saucepan with a towel which helped keep heat in.. and then had to turn the heat on and off throughout to make sure it stayed at this temperature.

Now cut the curds into 2cm pieces... likely the curds are longer than 2cm deep, so you can also run a spoon horizontally through the curds as well.
Let the curds stand for 5 minutes after cutting them.
Now, slowly bring heat up to 104F (40C) - takes about 15 minutes.

Maintain this temperature and slowly stir the curds.. They should firm up a bit and will turn into their own shapes.  Cook for a further 20 minutes at this temperature, continuing to lightly stir.

Time to strain - Place a strainer on top of a bowl to catch the whey.  Place a butter muslin or cheese cloth on top of the strainer.  With a slotted spoon, scoop up the curds and place them onto the cloth.  Reserve the whey in the saucepan as you'll need it in 2 hours.  Whey will continue to drain  from curds for 15 minutes.


Now place the tops of the cheese cloth over the cheese and place something heavy over the curds... You can place the weight on the curds as they sit in the strainer, or you can move the curds and cloth to a mold if you'd like to be a little fancy.  My recipe called for 8 pounds of weight - but I don't have a press, so just put a water-filled tupperware on top of the curds for 2 hours... worked fine!


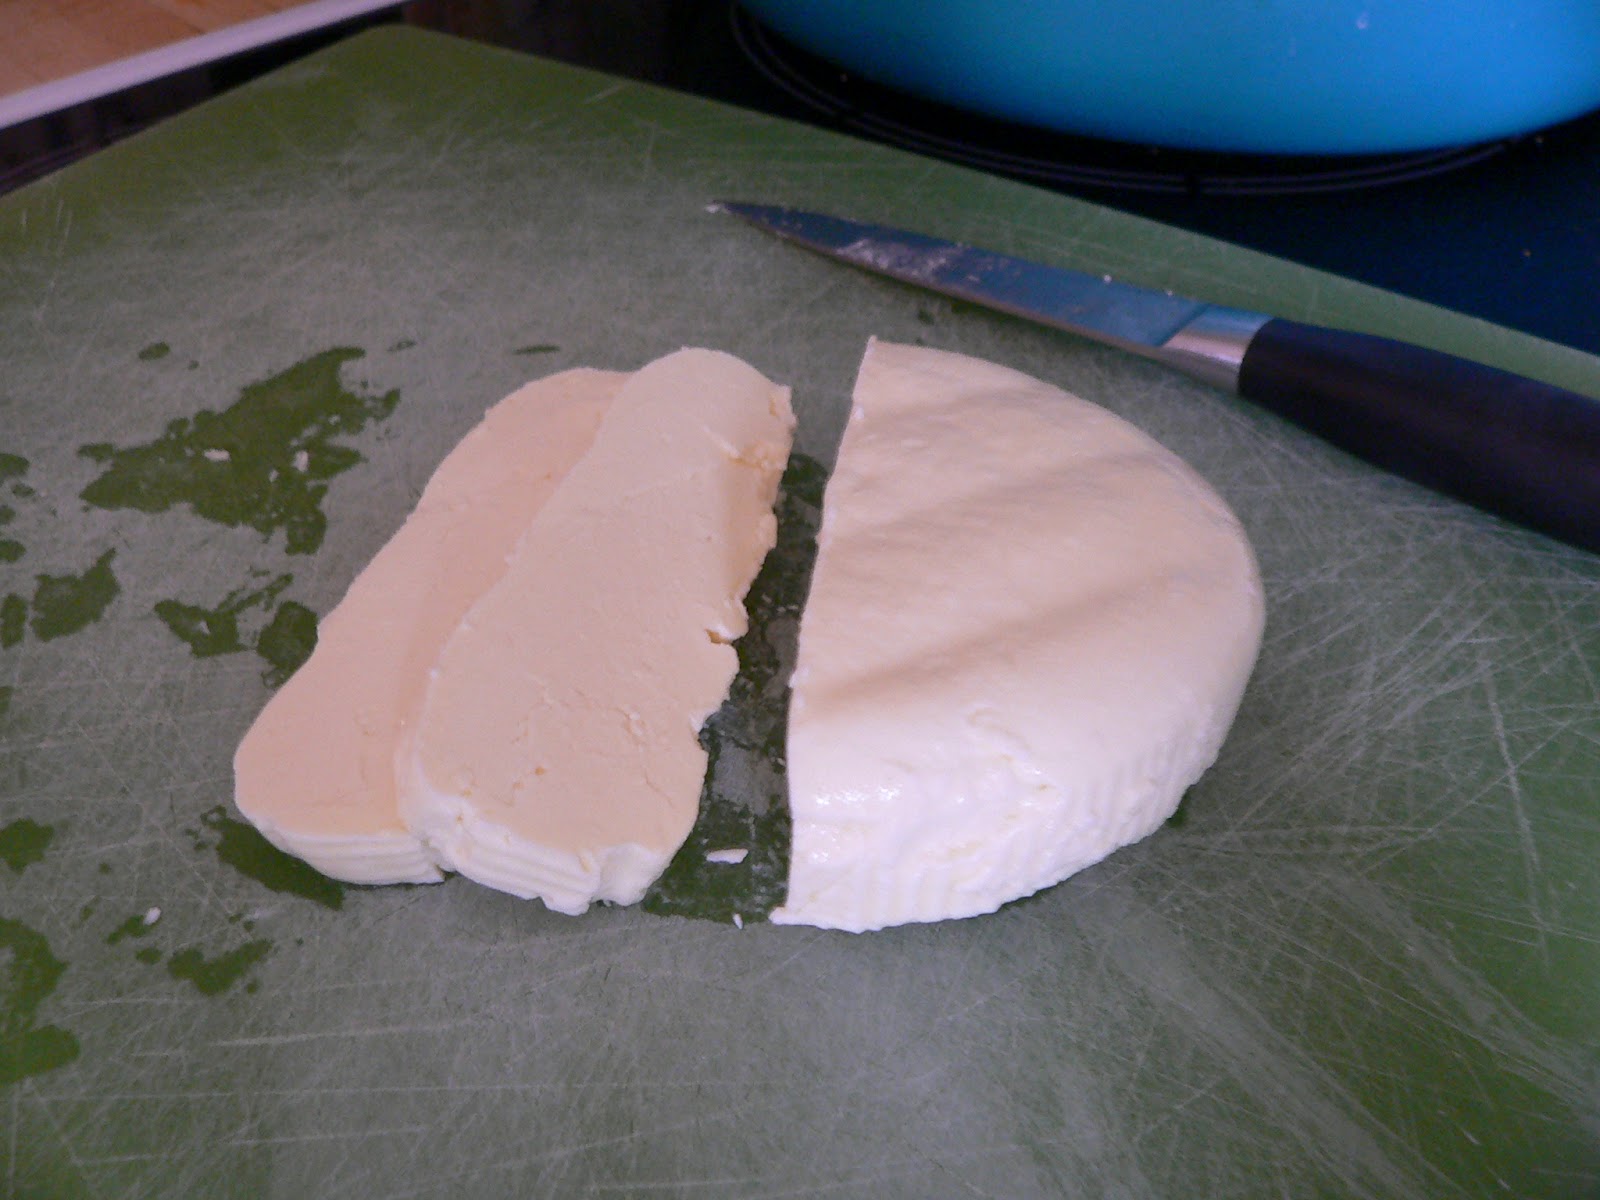
Peel off the cheese cloth and now you have something resembling cheese!!
Next, slice the cheese into pieces - I cut mine into 4 segments (roughly 2 inches by 2 inches).

Slowly heat the whey to 190F (88C) - should take 20 minutes - basically heat it to just before it wants to boil, but try not to let it boil.

When the whey is 190F (88C), drop the cheese pieces into the whey and cook them, gently stirring from time to time.  While maintaining this temperature, cook the cheese for 35-45 minutes.  The cheese should eventually float to the top.

After 35 minutes, remove the cheese from the whey, sprinkle with some flake salt on each side (pat it down so it stays) and air-dry it for 45 minutes, flipping it once.


Eat straight away or store in a brine.  Great raw or grilled.

Make the brine with 50% whey, 50% non-chlorinated water (maybe 300-350ml of each) plus 1 T flake salt.

The halloumi will technically keep for at least a month (if not two)... but more literally, it will be gone in days... num.


Saturday 25 August 2012

How NOT to Make Homemade Halloumi

4 litres of milk, 4 attempts, and I'm still on a journey to make perfect halloumi.  The good news is: I'm definitely seeing steady improvements each time I give it a go.

Halloumi is a brined, semi-hard cheese from Cyprus.  Cypriots eat it raw or grilled - I remember stuffing myself silly on watermelon and halloumi salad when I used to travel there for work.  Because halloumi has a very high melting point, it's great on the grill - think chorizo & halloumi kebabs, or grilled on its own and put in a salad or on top of a burger.

After successfully making ricotta and queso blanco, I thought I'd try my hand at halloumi.  And while I haven't yet mastered the art of making it, I've learned lots of tips on what NOT to do...  So here goes:

1) First attempt - Do not overheat the milk or the rennet won't work...  Rennet is the coagulant used to separate the curds and whey of the milk.  Overheating kills the enzymes in the rennet and therefore won't coagulate the milk...  
Here's what happens when you add rennet to overheated milk

2) Second Attempt - Once you've heated milk to appropriate 90 F (32 C) and successfully added the rennet, maintain this temperature for the next 30-45 minutes while the milk ripens.... (aka... don't go and do something else while assuming that your old-school stove will simply maintain this perfect temperature rather than BOIL the poor curds despite being on low heat.) -- oops.
Here's what happens when you accidentally boil the milk and rennet

3) Third Attempt - Once the curds have been strained, use a weight heavier than a bottle of Baileys to press the curds...  Despite this one looking and tasting like cheese, it was softer and blander than Halloumi.
 Bottle of Baileys does not equal 8 pounds in weight...

4) Fourth Attempt - Don't over-salt the brine and get a cheese-press to put the right amount of weight on the curds (instead of stacking bricks atop a plastic container which ends up toppling over a few times).  Definite improvements on this 4th try - tasted pretty good, but the texture was still a little too soft and not rubbery like it should be.


Not defeated, I'm still plugging away at this one - hopefully sometime soon I'll post a companion blog entry on How TO make Halloumi...  

If at first you don't succeed...

Sunday 5 August 2012

Cheese-Making at Home... First up, Ricotta

   Now that I've successfully made my first cheese, I'm asking myself why it's taken me so long to give it a go!  Granted, I've started with ricotta, famously easy and with no requisite fancy ingredients, but still...  For me, my cheese-making journey called up images of Twain's A Tramp Abroad and his hilarious ascent of the Riffelberg - the initial level of intimidation I experienced far outweighed the actual task in the end.  This morning, I woke up and my mind was made up - I was going to make cheese, no matter how trying it might be.


   I headed to the store and picked up gallons of milk, some double cream, and some lemon and vinegar... one way or another, even if it required numerous attempts, I was going to produce cheese today.  I combined the approaches and recipes of a few books and online blogs I'd been reading and am proud to report that making cheese (at least fresh cheese) is not difficult at all and the result is absolutely delicious.

   Milk, from what I can tell, is at the heart of a great cheese - the recommendation is to try to get the freshest you can.  Down the road, I'd love to work with unpasteurized milk; but for now, the only milk I have easy access to is what's stocked at the grocery store (which is pasteurized).  A lot of recipes call for whole milk, but I read online that whole milk hasn't been consistent this year and a recommendation by a cheese-maker was to use semi-skimmed milk in combination with double-cream.  I took this recommendation and it worked really well!

   The ricotta I made is not the true traditional way of making Italian ricotta...  The true Italian way requires whey in combination with milk.  As this was my first cheese to make (and you get whey as a bi-product of cheese-making), I didn't have any whey on hand.  Even still, this ricotta was delicious and I will be making it again.


Ricotta (makes 1 cup or 250 grams)

Ingredients: 
2 cups (500 ml) semi-skimmed milk
1 cup (250 ml) double-cream
3 Tablespoons lemon juice
2 teaspoons sea salt

What else you need:
butter muslin
candy or digital thermometer
plastic slotted spoon
strainer or colander

In a saucepan, slowly heat the milk, cream and 1 teaspoon of salt, stirring occasionally until it gets to 190 F or 88 C.  This should take around 20 minutes.  I started on medium-to-low heat and slowly turned it up to get to the desired temperature.
Take the saucepan off the heat and add the lemon juice.  Give it a slow stir 1-2 times to make sure the lemon juice gets distributed throughout.  Let it stand for 5-10 minutes.  The citric acid in the lemon juice will instantly coagulate the milk - separating the curds from the whey.  

Line a nonreactive strainer (colander) with two sheets of muslin and place over a large nonreactive bowl.  Pour the curds and whey into the strainer.  Let stand for 5 minutes while the majority of the whey drains.  


Now add the last teaspoon of salt to the curds (at this time, you can apparently also add any herbs or spices as well if desired).  Carefully fold the salt through (with hands or plastic spoon) - trying not to break up the curds too much in the process.

Tie two corners of the muslin together and then the other two corners of the muslin together in order to make a draining sack.  Slip a wooden spoon under the knots and find a place to hang it where the whey can continue to drain (the sink is a good option).  You can put a bowl under it if you'd like to save the whey.


Drain for 1 hour if you like the ricotta to be very creamy.. up to 2 hours if you like it to be dryer in texture.
Once finished, you can either place in a bowl and serve immediately (room temperature and just made is when it's at its best) or place in a tupperware.  It should keep for 3 days - but likely will be eaten up well before that!


The ricotta from this recipe is creamy with a hint of lemon - I served on toasted baguette and it went down a treat.  Enjoy!!